Disclosure: This post may contain affiliate links, which means we may receive a commission if you click a link and purchase something that we have recommended. Helping us to keep making cool tutorials and videos.

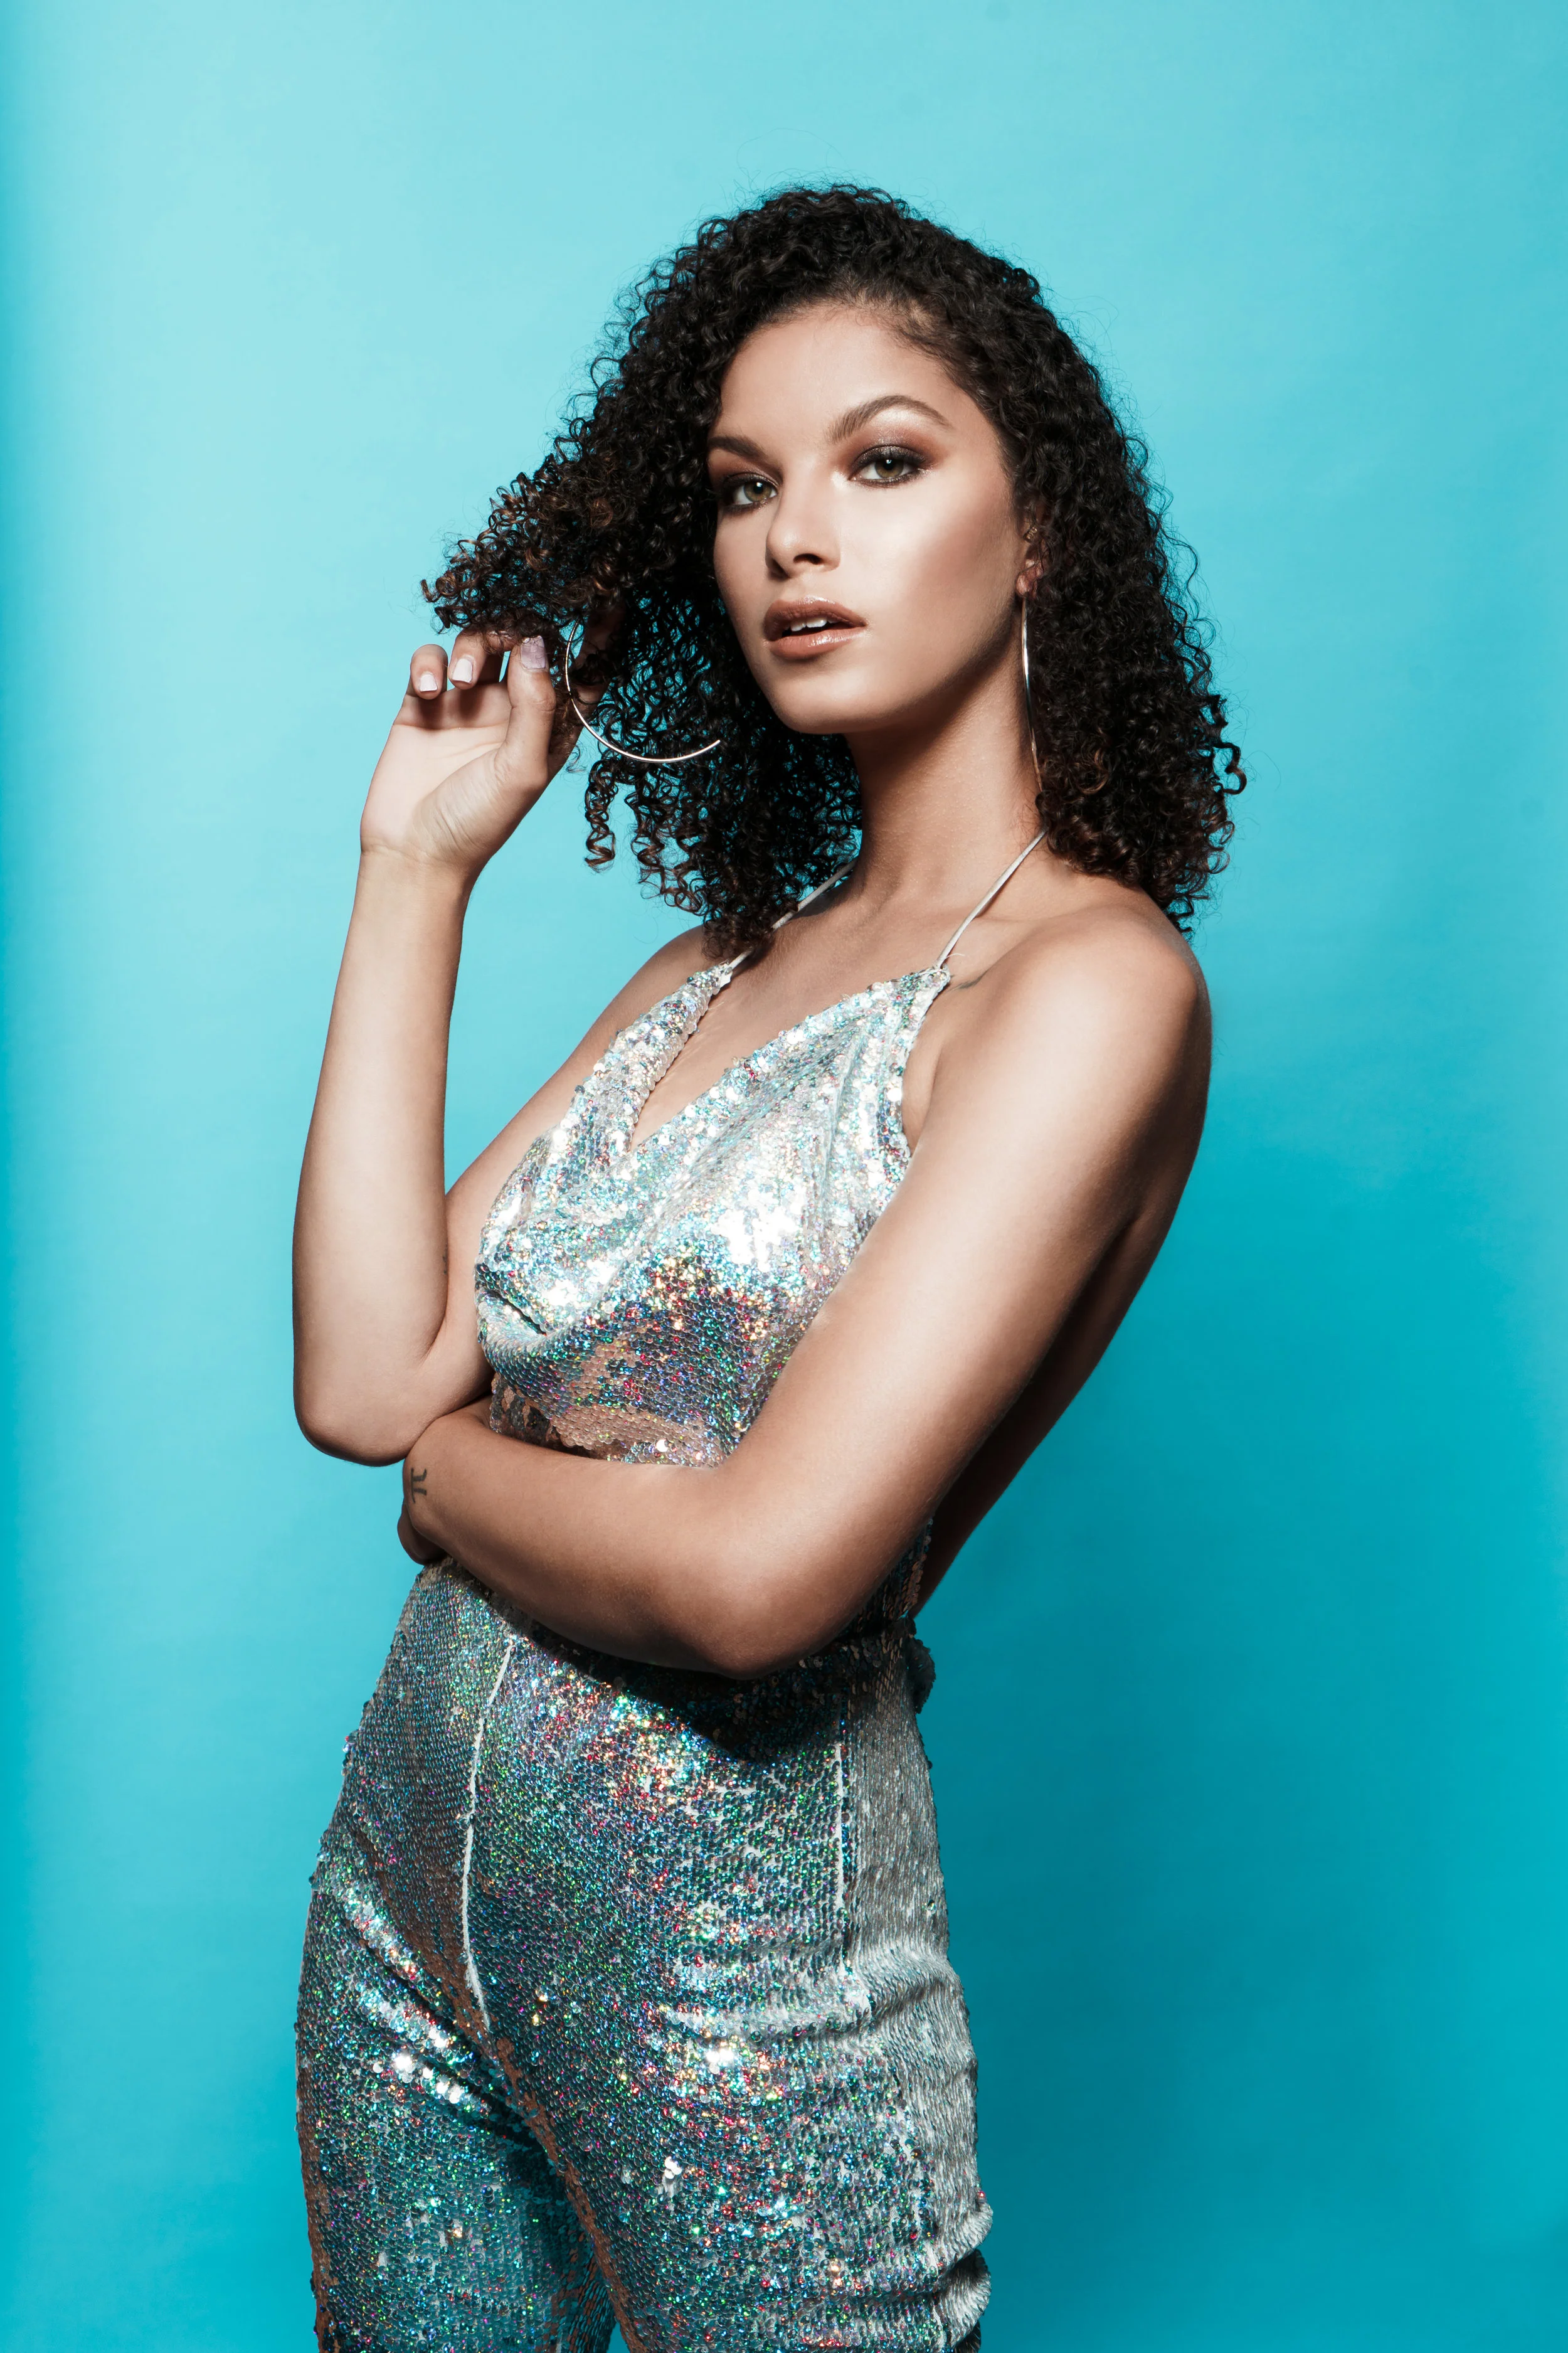
Model in Red DSLR Sony A7III Photo

Model in Red iPhone 11 Pro Max Photo
Can the camera in your pocket replace your DSLR?
The iPhone 11 Pro Max is a phenomenal phone that boasts an impressive camera. One of the best cameras compared to other smartphones in the market.
There’s a saying that the best camera is the one you have on you all the time, your phone's camera. This doesn’t make sense when you see new DSLR cameras coming out daily. If the best camera is the one in my pocket, why is the camera business still booming? The best camera to shoot with is whatever you can afford. You have to make do with what you have. With strides to invest in better if you decide photography is for you. For now, if you only have an iPhone start with that. But, if you have a DSLR, like the Sony A7III, I would suggest shooting with that.
I hate when photographers tell you to shoot with your iPhone when they shoot their work with expensive cameras.
To put an iPhone camera to the test. I wanted to test the capabilities of the new iPhone 11 during a fashion shoot. Figure out if it can be a replacement for a DSLR in a pinch and what benefits you have when shooting with your phone. Here are some insights I learned:

Model in Sweater DSLR Sony A7III Photo

Model in Sweater iPhone 11 Pro Max Photo
No Learning Curve
When it comes to smartphones there is no learning curve. You can pick up your phone and take a decent picture without much skill. Without knowing photography basics.
Yet, this can be a pro and a con. As the iPhone has limitations when it comes to manual functions and how you want an image to look.
There's an iPhone Workaround
One great addition to the new lineup of iPhones is the portrait mode. With portrait mode, you can add a blurry background to your image. With the ability to adjust the aperture after you take the photo. This is cool because I love shooting portrait mode for selfies and when shooting around the city. This isn’t a replacement for a fast lens and a DSLR. Due to the automatic way it applies a blurry background the results aren't perfect. This is still a great step in getting a quality iPhone photo.

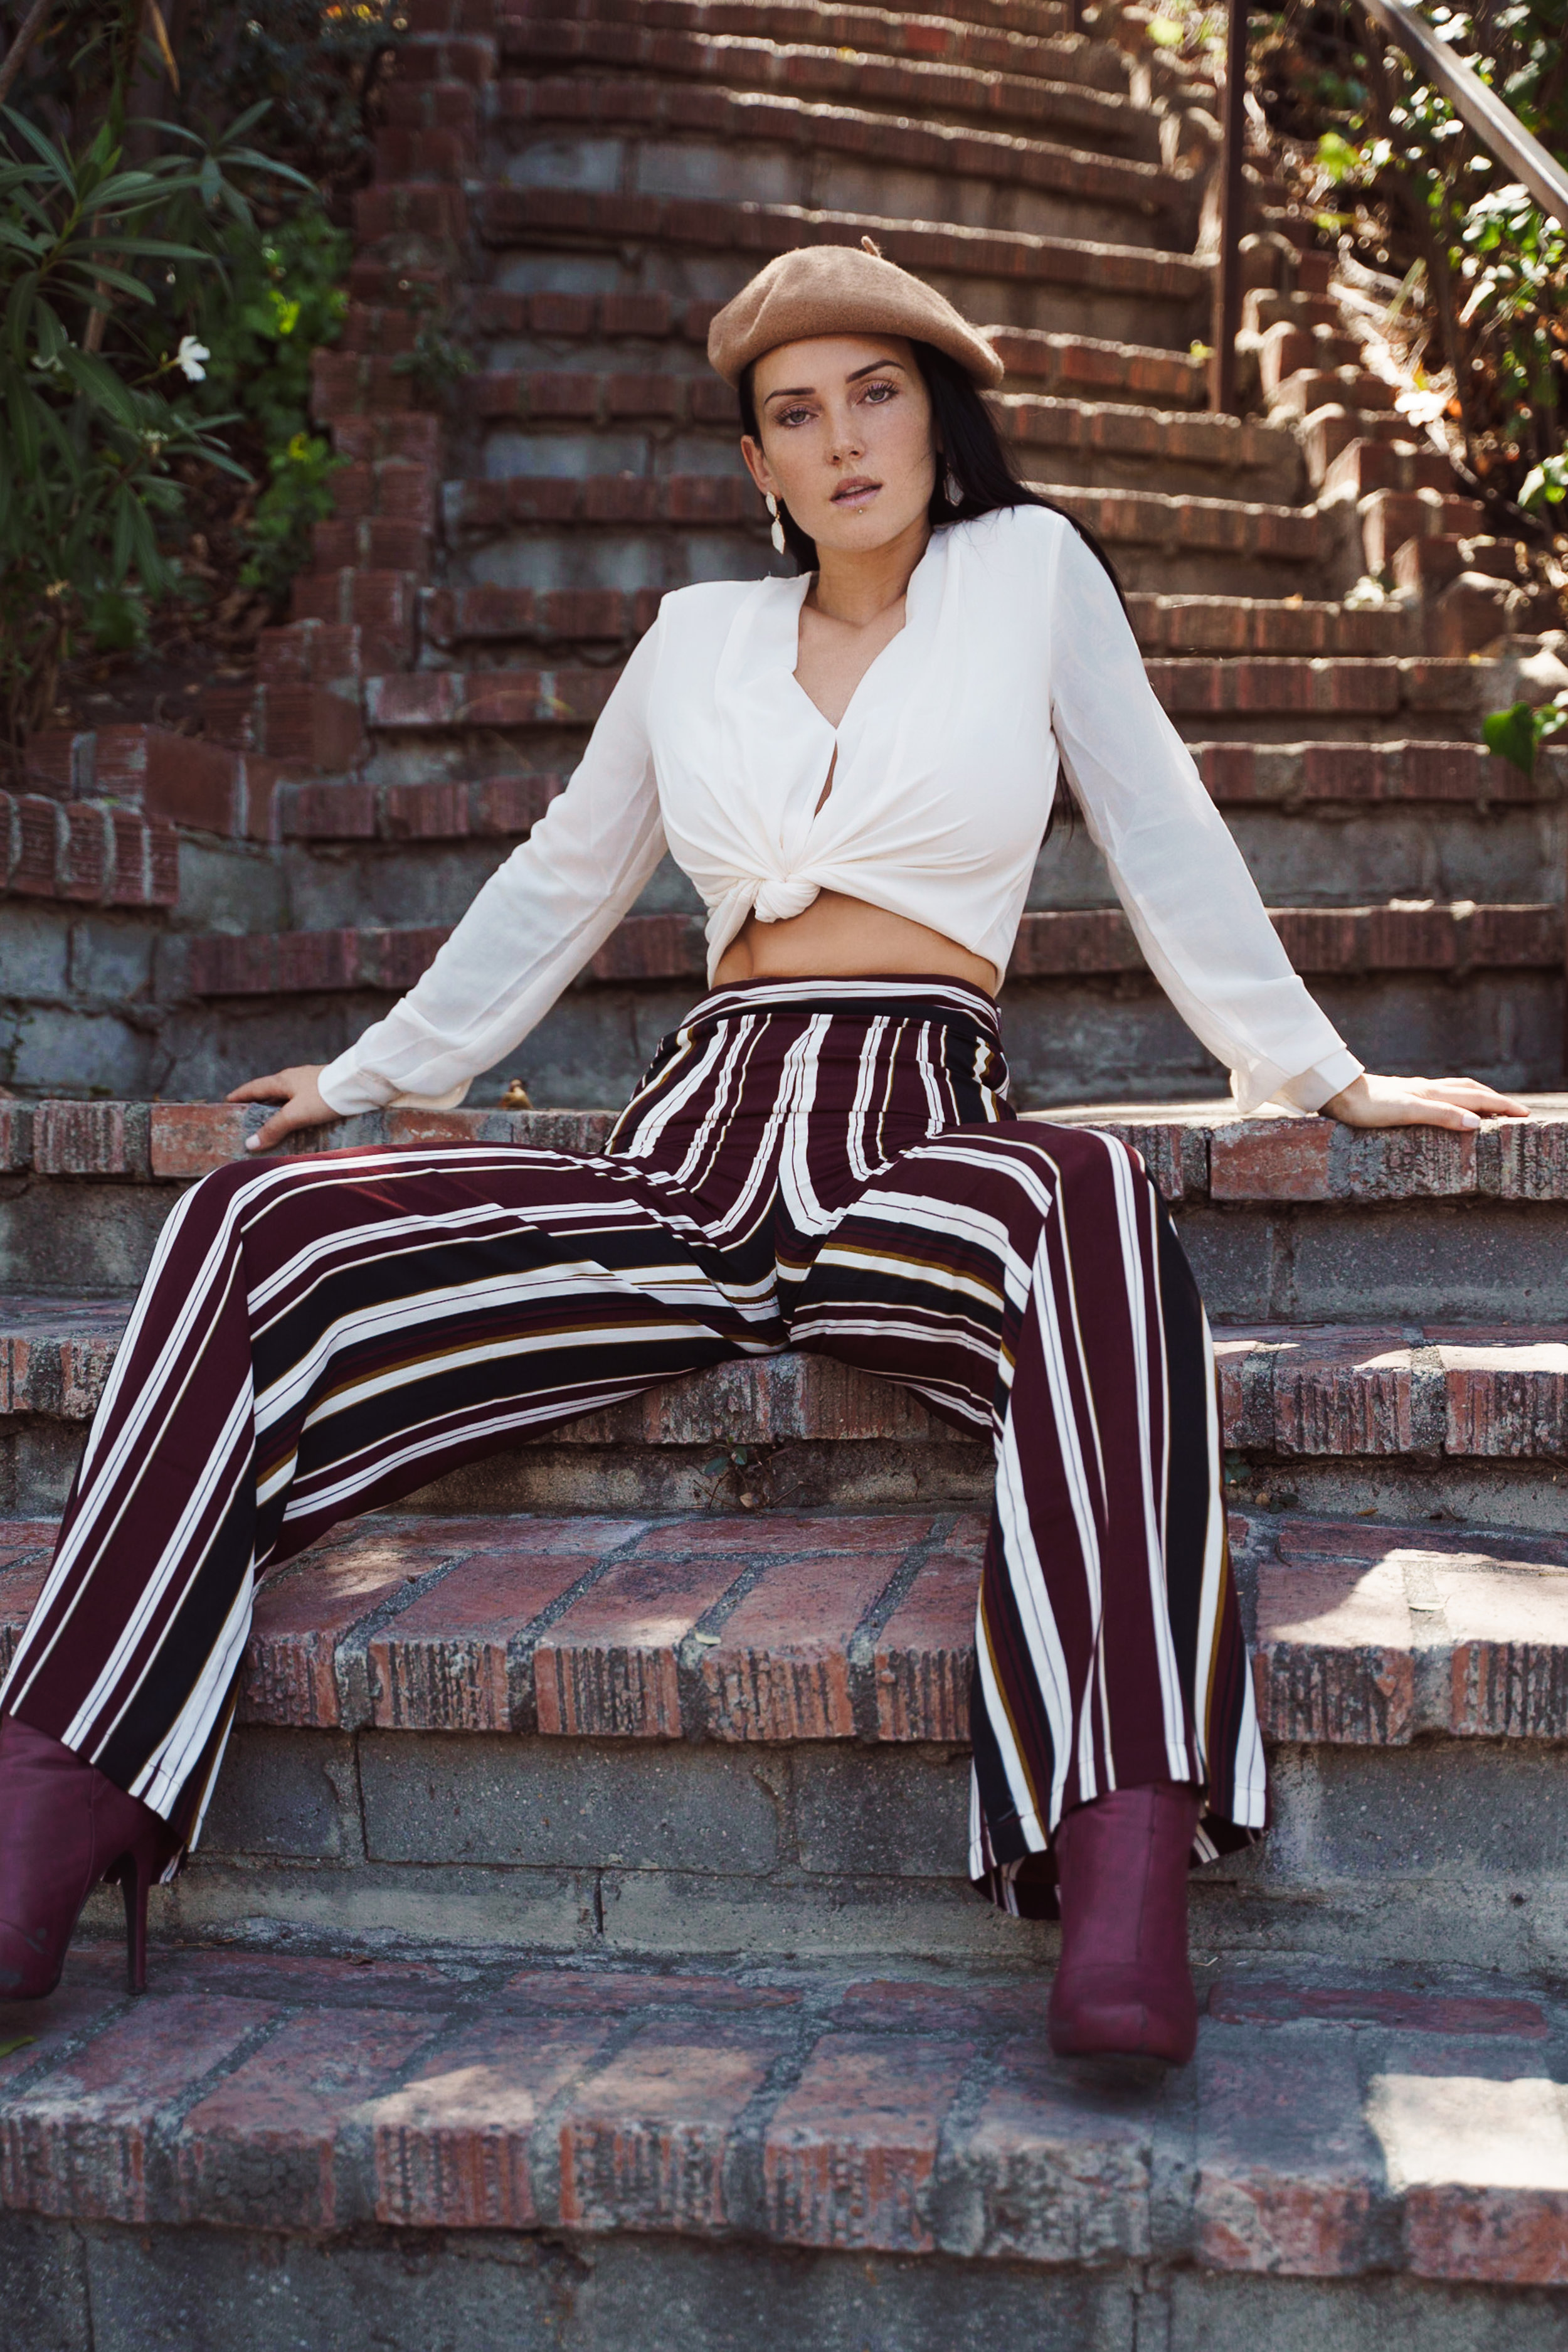
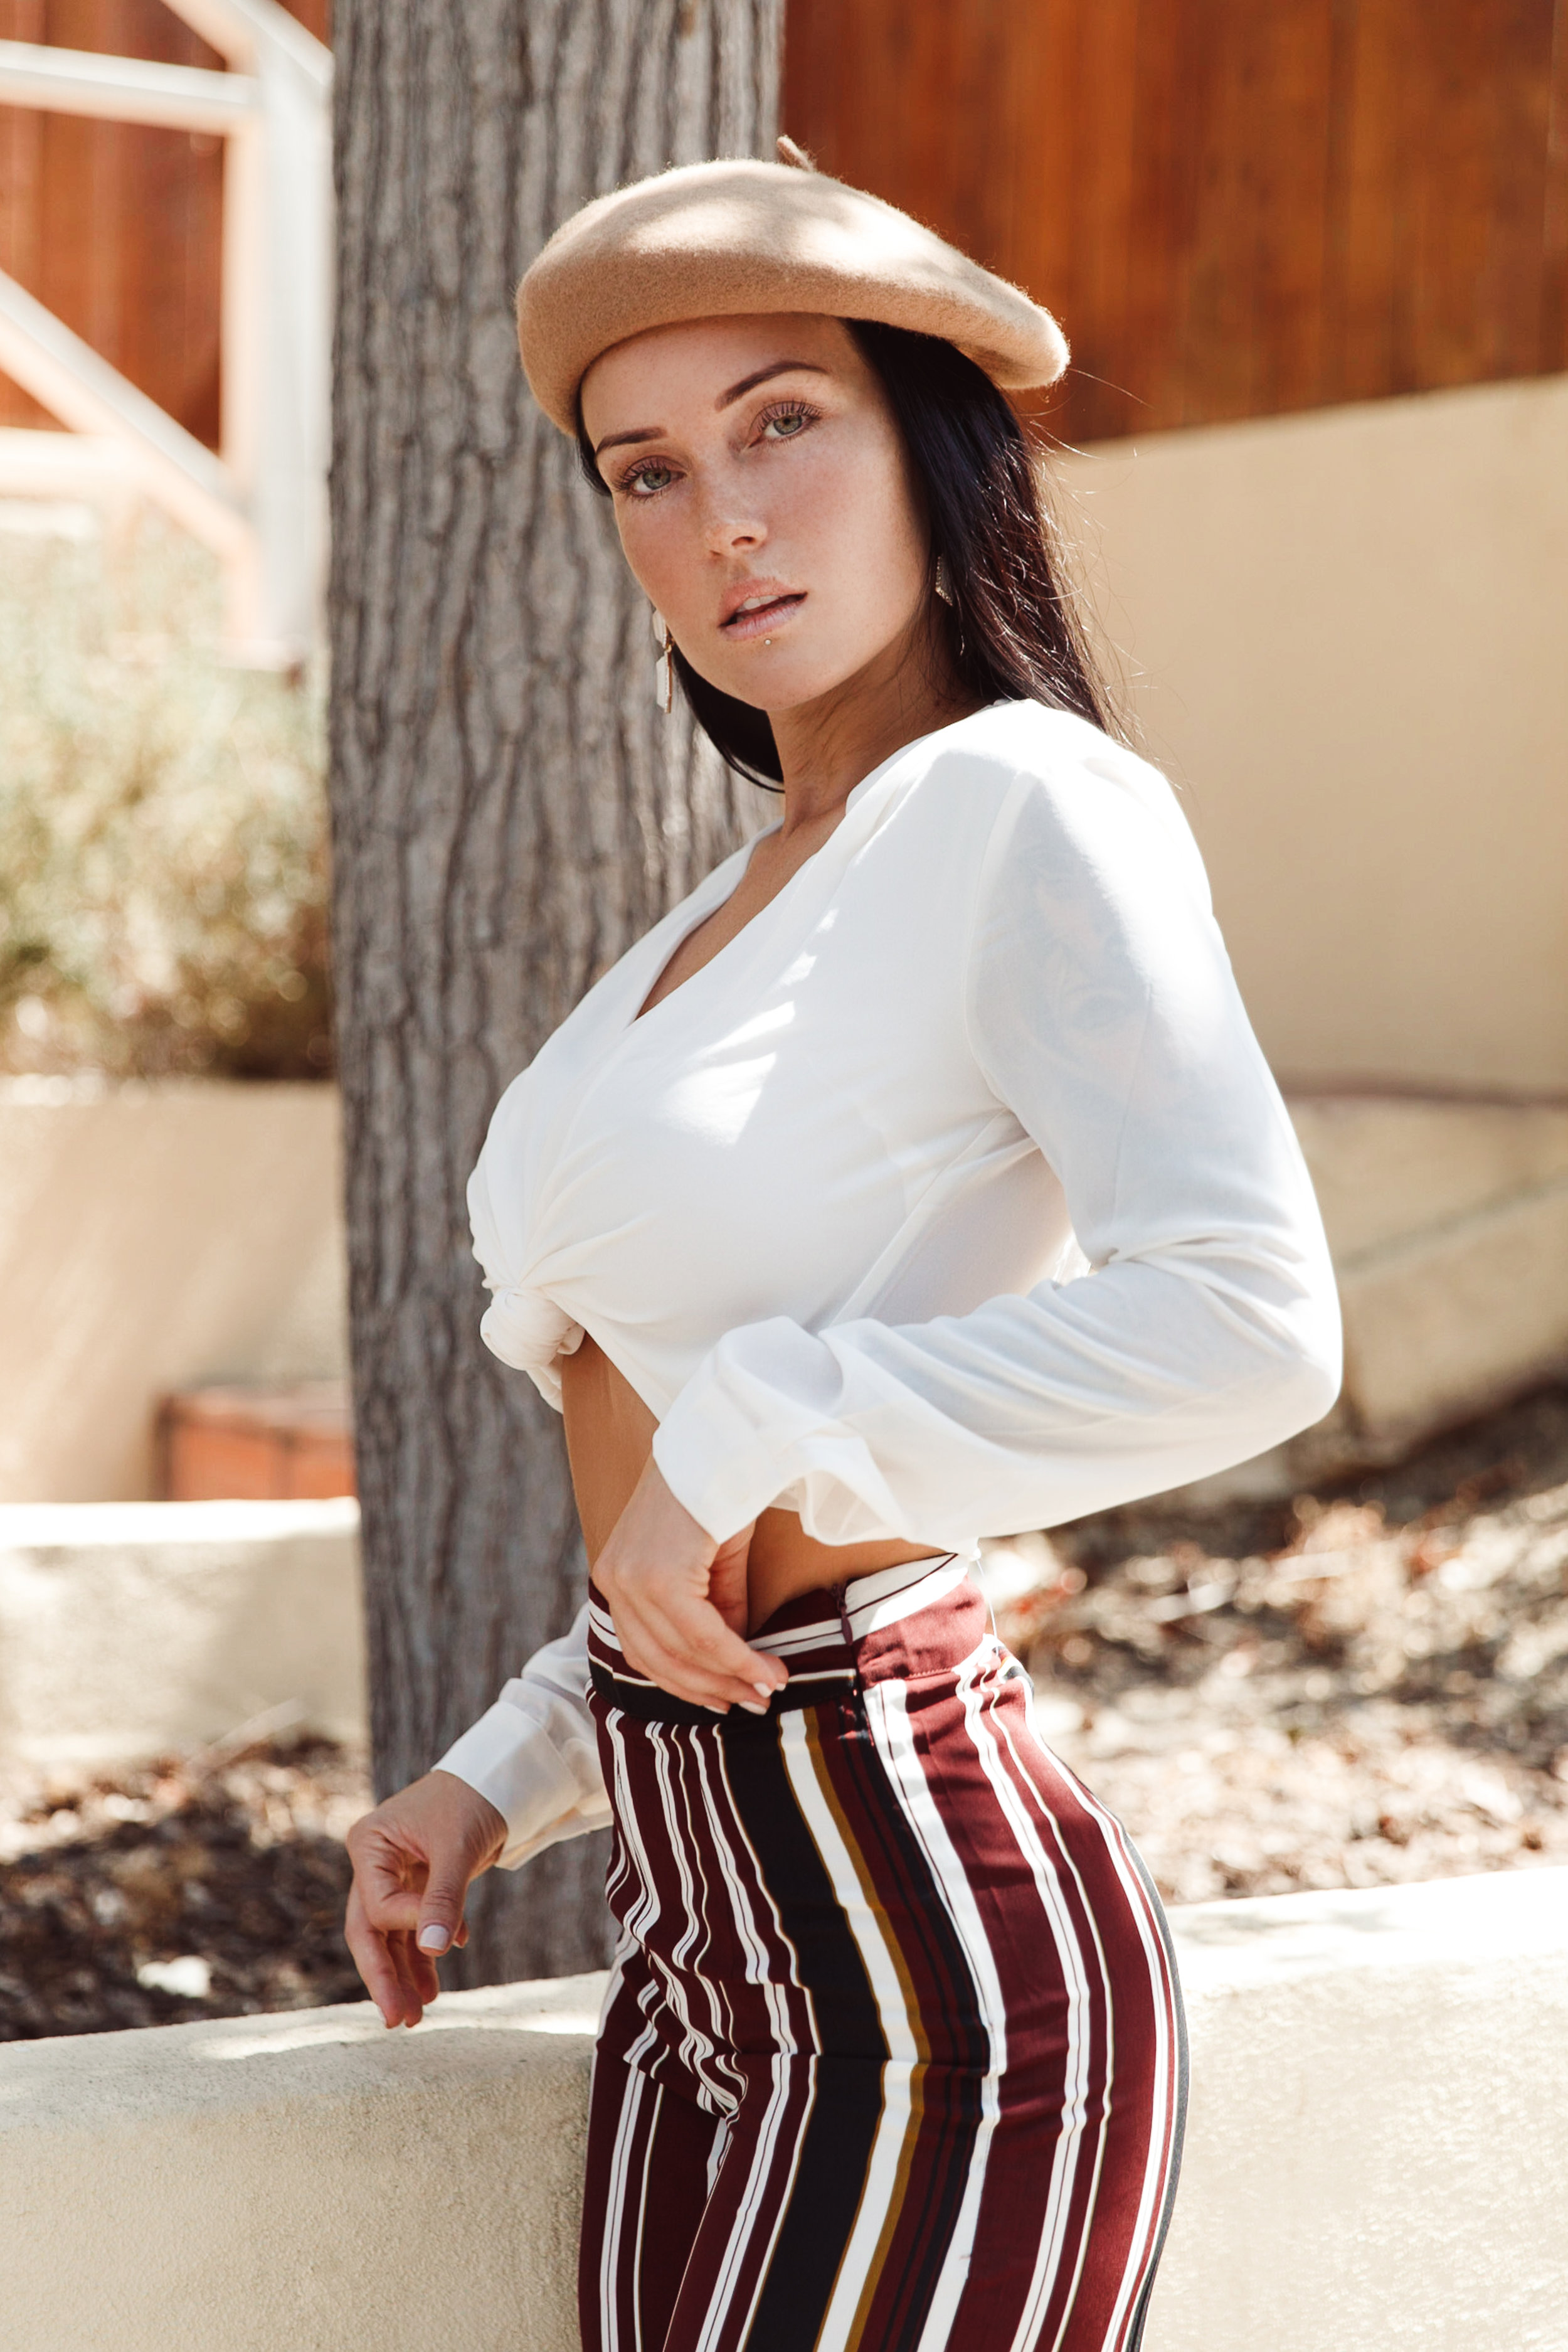
Model in Trench DSLR Sony A7III Photo

Model with Trench iPhone 11 Pro Max Photo
iPhone has Good Dynamic Range
When it comes to the dynamic range the iPhone shines. It might be a better choice when shooting in areas with strong highlights and shadows. For example when you’re shooting under an awning and there’s harsh sunlight coming through. Situations where with a DSLR camera you would have to fix it in post. With underexposing or bracketing the exposure. The iPhone has a smart HDR. So it can analyze an image and create a balanced image.
Final Thoughts
This isn’t a replacement for a good DSLR camera with an amazing dynamic range. Yet, it will save you when you’re shooting in harsh lighting conditions. In those times when your friend wants a photo and your DSLR isn't around.
Watch the Video: iPhone 11 vs Sony A7III [Best Smartphone Camera 2020]
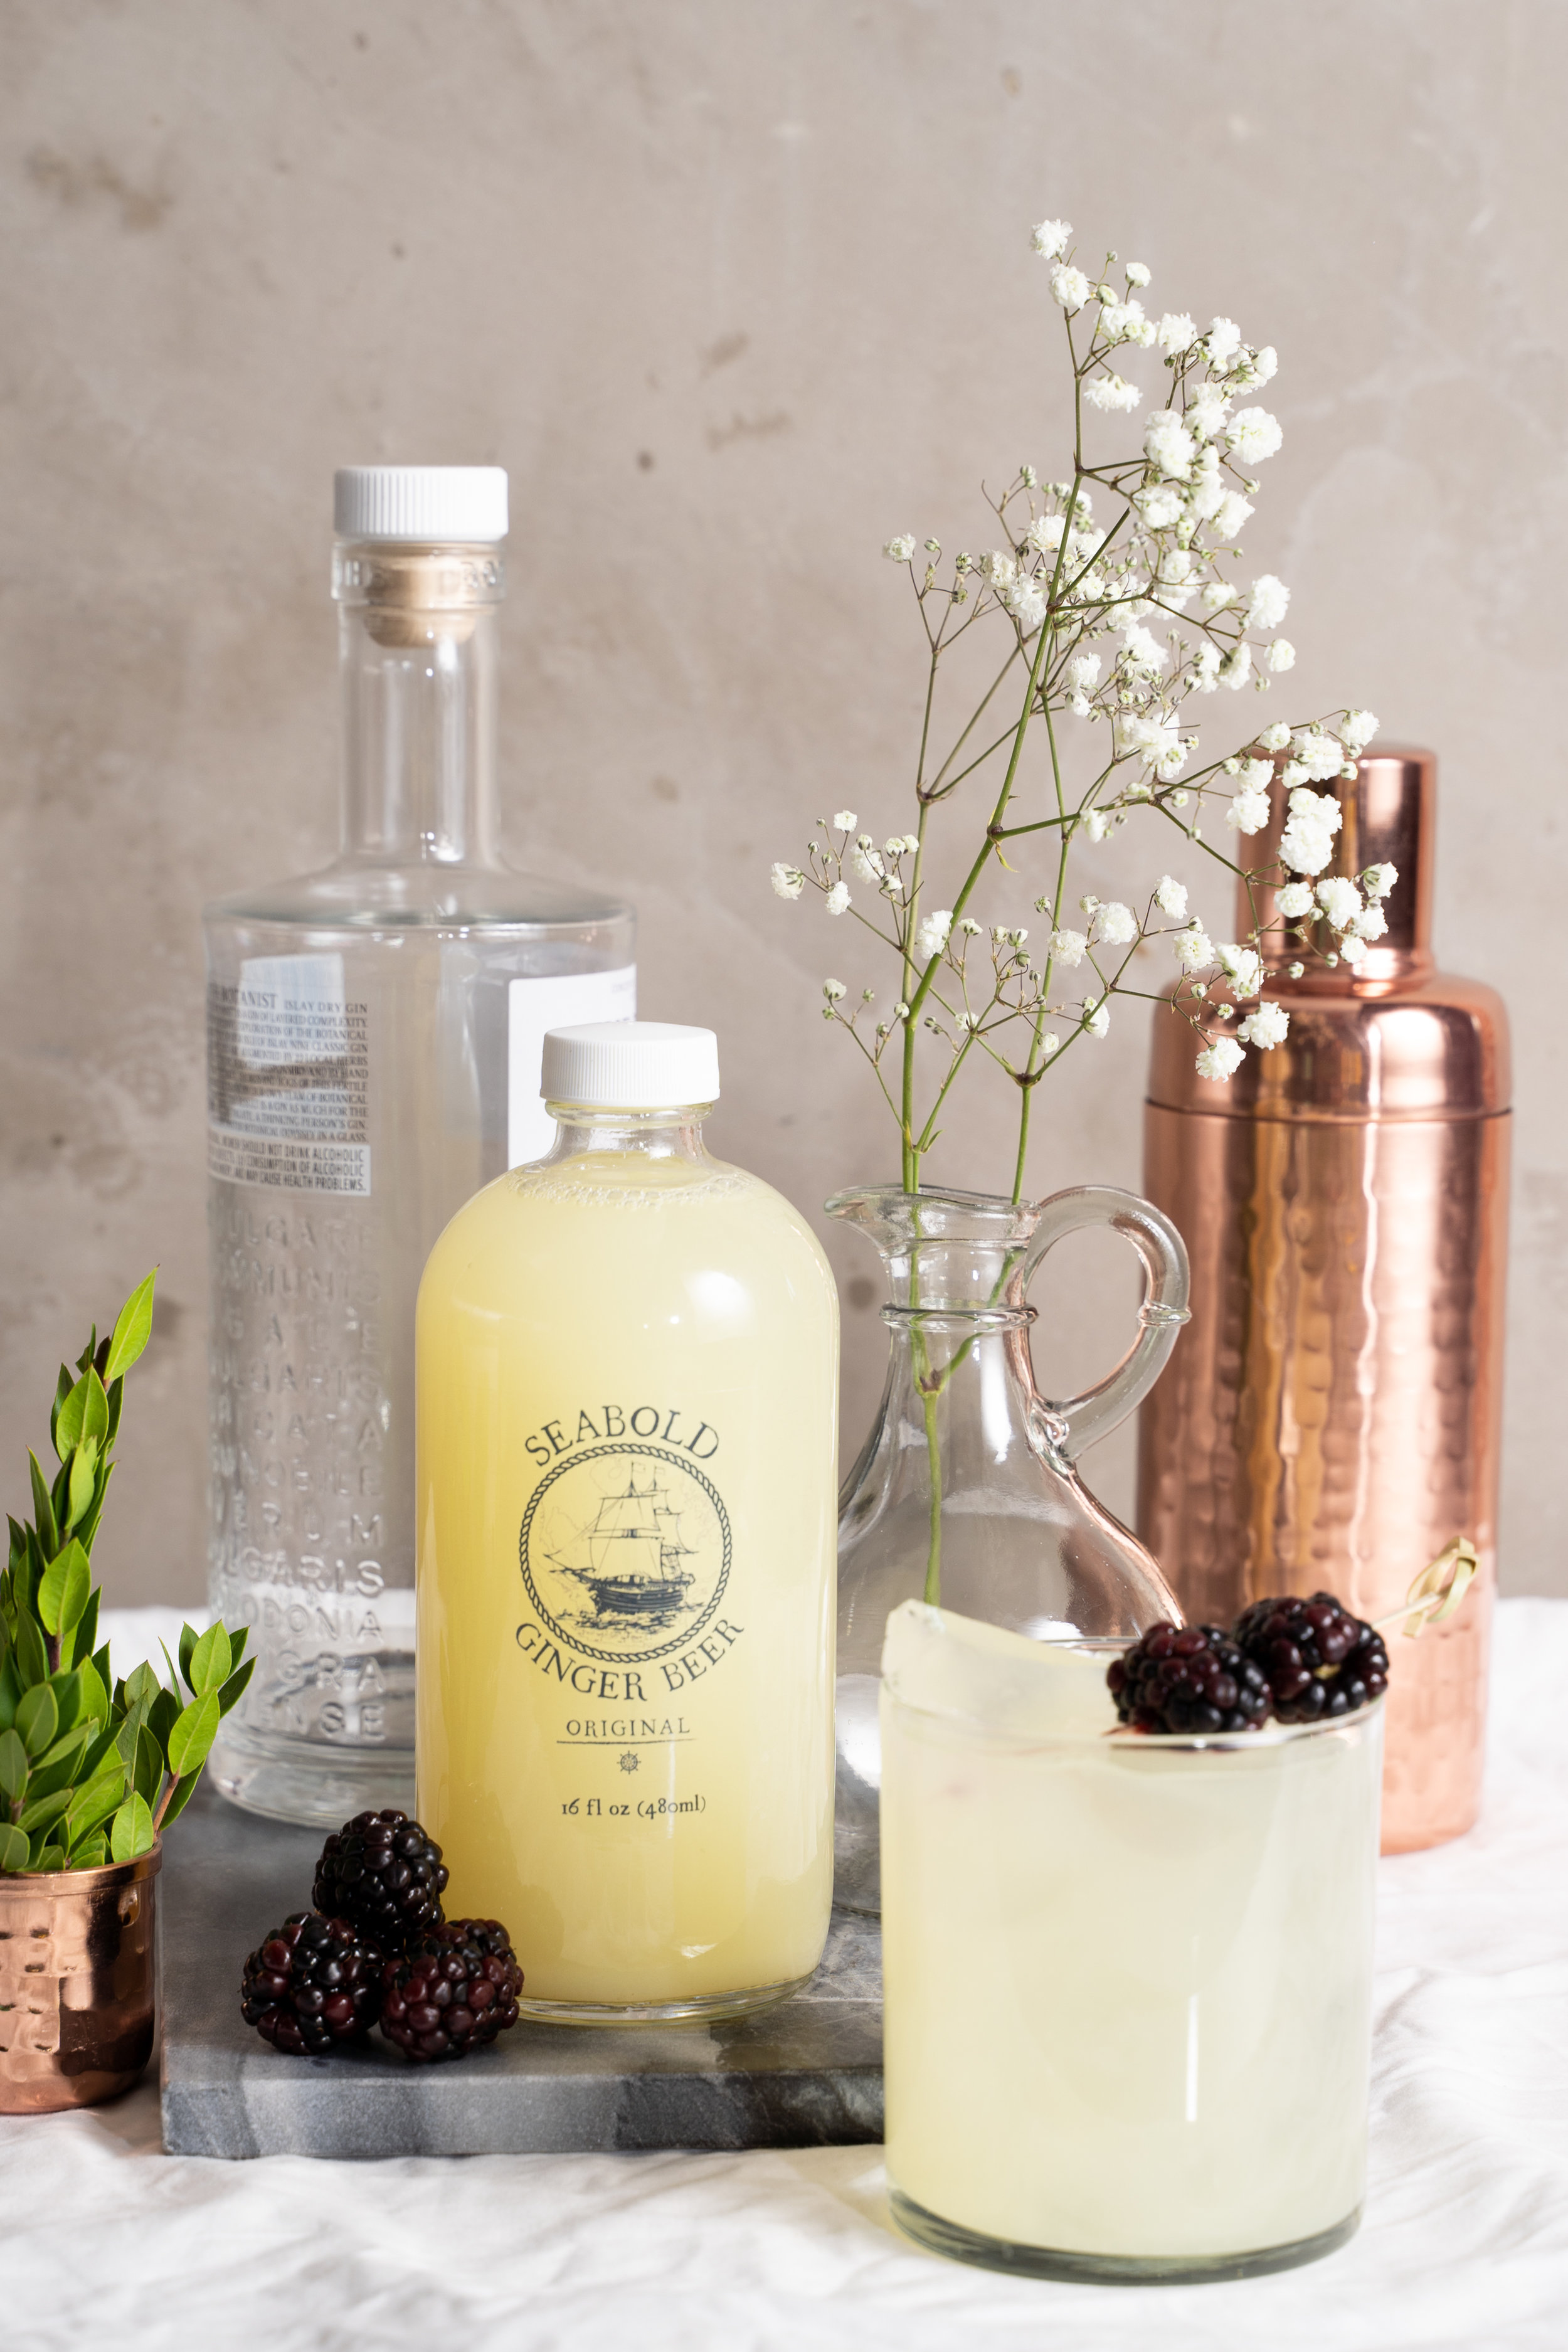
Products mentioned in this post:


Thanks for Reading!
LIVE ART LOVE TEAM
P.S. If you’re interested to see all the equipment we shoot with head to our Gear Page.